1.1.1. windows
Note
如果你用的型号是OAK-D-SR,请先查看这个 注意事项 !
Windows 10/11
我们准备了windows平台下的python开发环境,以及depthai示例。
并且python环境中已为您安装好了运行depthai示例所需的依赖。做到开箱即用。
下载安装程序
sourceforge:
平台
链接
Windows
百度网盘:
平台
链接
提取码
Windows
https://pan.baidu.com/share/init?surl=LEstJIV07LoLpUoGnb0mDw
udjv
Note
这个安装包的depthai版本版本号是2.24.0.0,更新时间2023-12-21。部分示例可能会在 gitee 上不定期更新,最新示例请在 此处 查看。 手动升级 depthai 使用以下命令
cd /d %DEPTHAI_HOME%
.\python\python.exe -m pip install -U depthai
指定版本下载 depthai 使用以下命令,例如 depthai==2.23.0.0
cd /d %DEPTHAI_HOME%
.\python\python.exe -m pip install -U depthai==2.23.0.0
安装包内容
文件夹目录 |
内容 |
|---|---|
depthai |
depthai_demo以及校准程序 |
depthai_API_examples |
API相关示例 |
depthai-experiments |
一些实验性模型示例 |
安装
安装程序下载好后,双击安装。

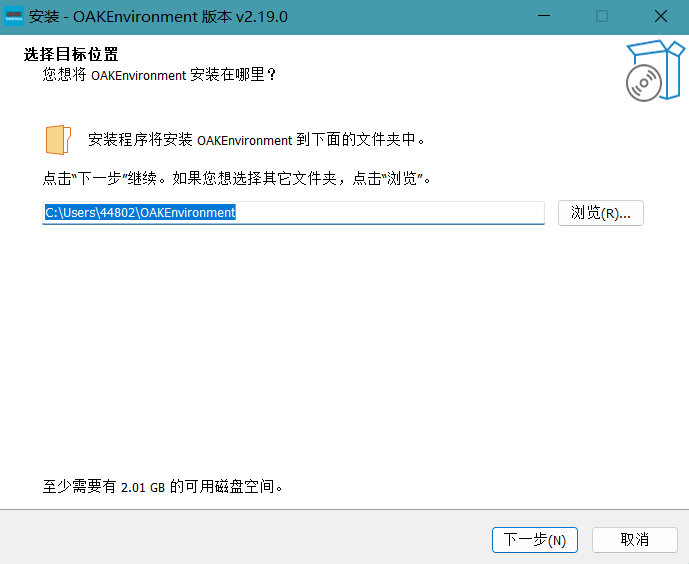
选择安装目录
选择菜单目录

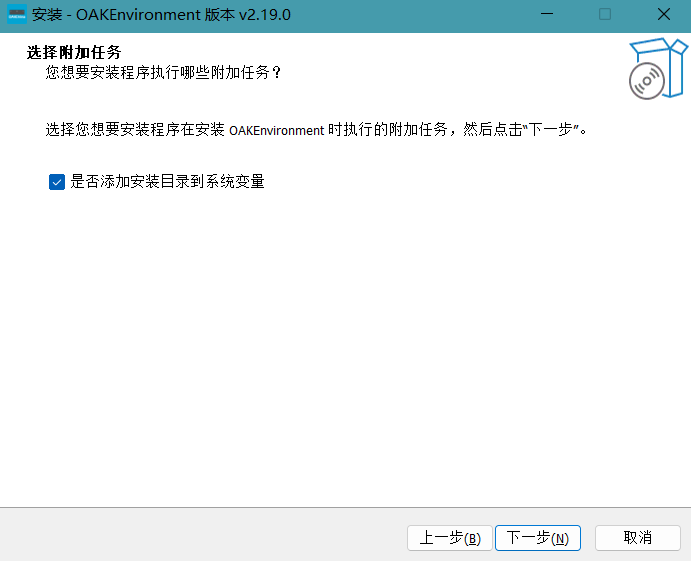
选择是否添加环境变量
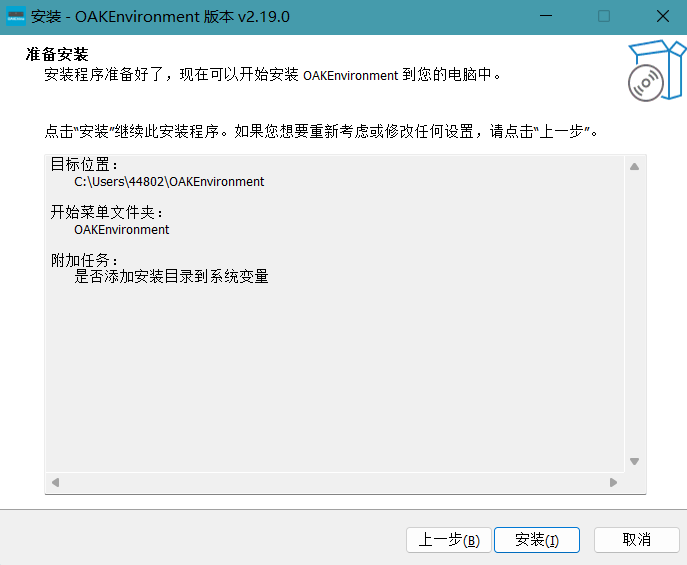
开始安装
安装成功
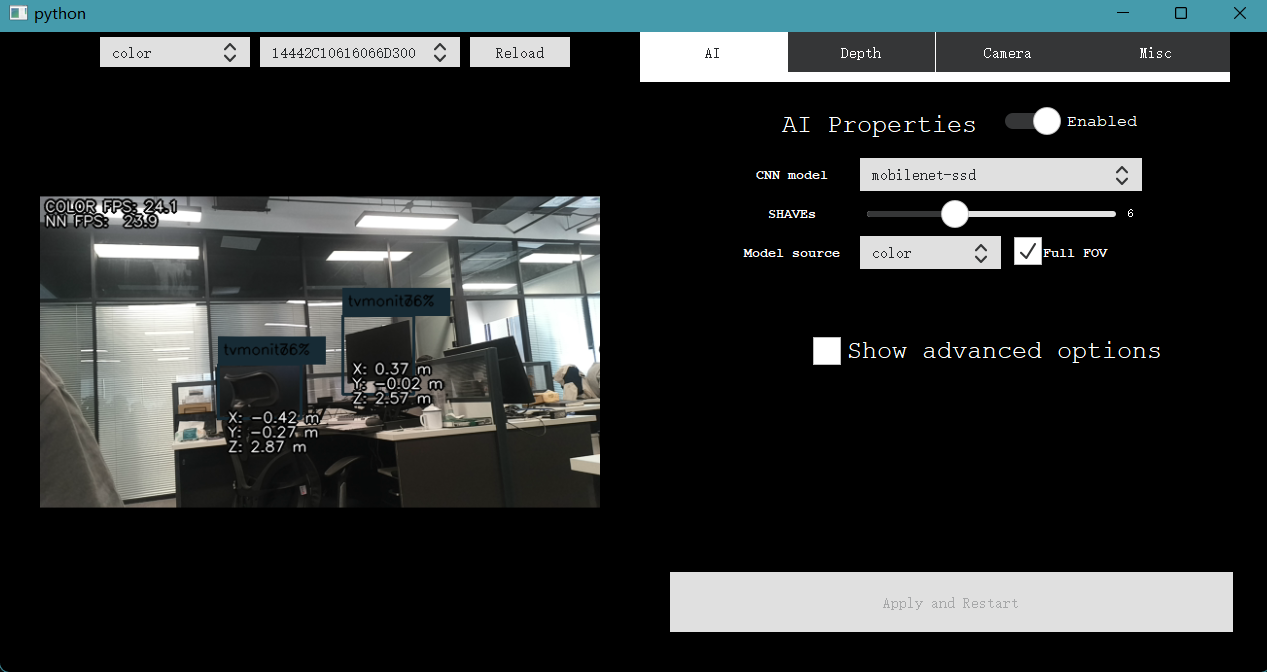
运行depthai_demo
Note
GUI界面的参数说明请 查看
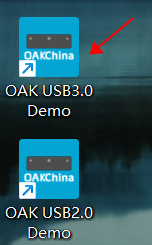
在确认使用USB3.0连接设备后双击桌面的OAK USB3.0 Demo即可运行depthai_demo。
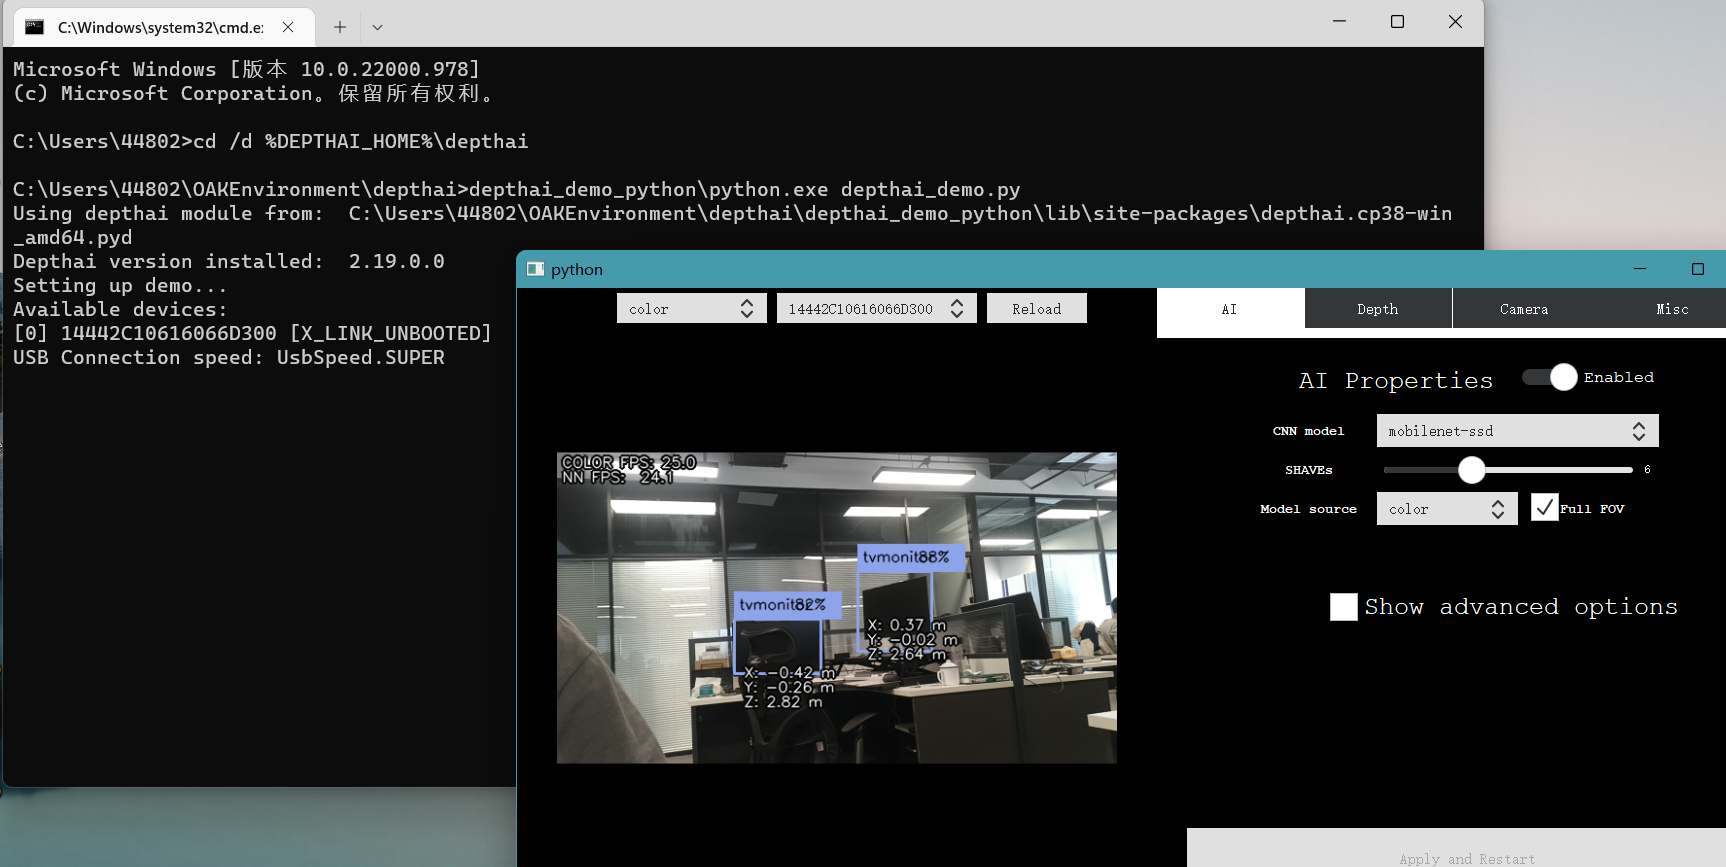
命令行运行depthai_demo:
cd /d %DEPTHAI_HOME%
.\python\python.exe .\depthai\depthai_demo.py --skipVersionCheck
Warning
如果系统用户名是中文 并出现下图错误:
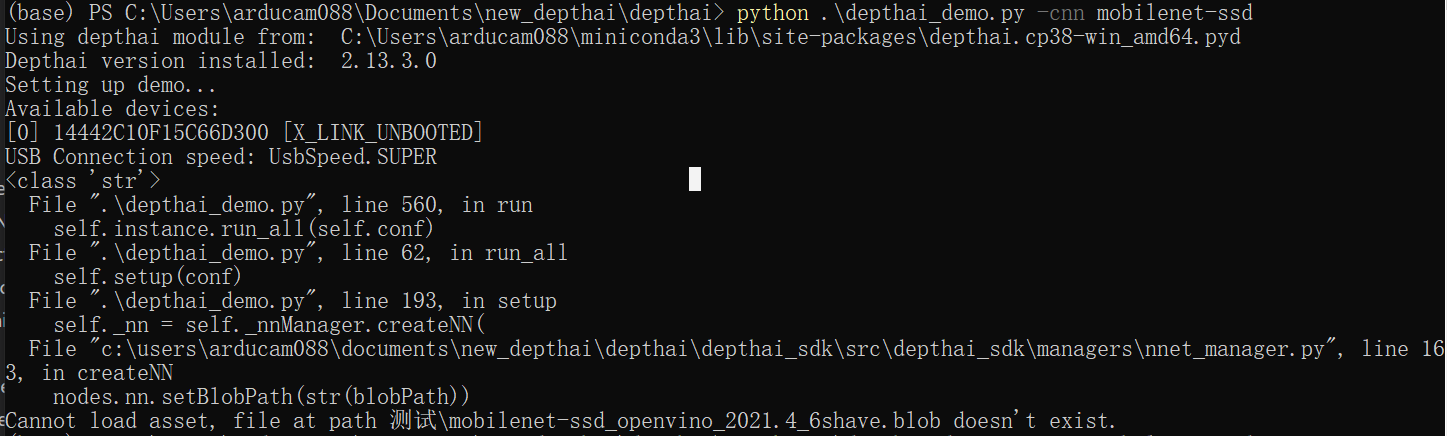
您可以在depthai-demo.py文件中添加以下代码:
import blobconverter

blobconverter.set_defaults(output_dir="<指定模型文件下载路径>")
如果下载太慢,您可以将用户目录下的.cache文件夹中blobconverter文件夹复制到上面代码中所指定的文件夹中。
运行API示例
cd /d %DEPTHAI_HOME%
.\python\python.exe .\depthai_API_examples\ColorCamera\rgb_preview.py
运行depthai-experiments示例
cd /d %DEPTHAI_HOME%
.\python\python.exe depthai-experiments/gen2-age-gender/main.py
运行校准程序
在DEPTHAI_HOME中,我们还准备了为OAK-D校准的bat程序。
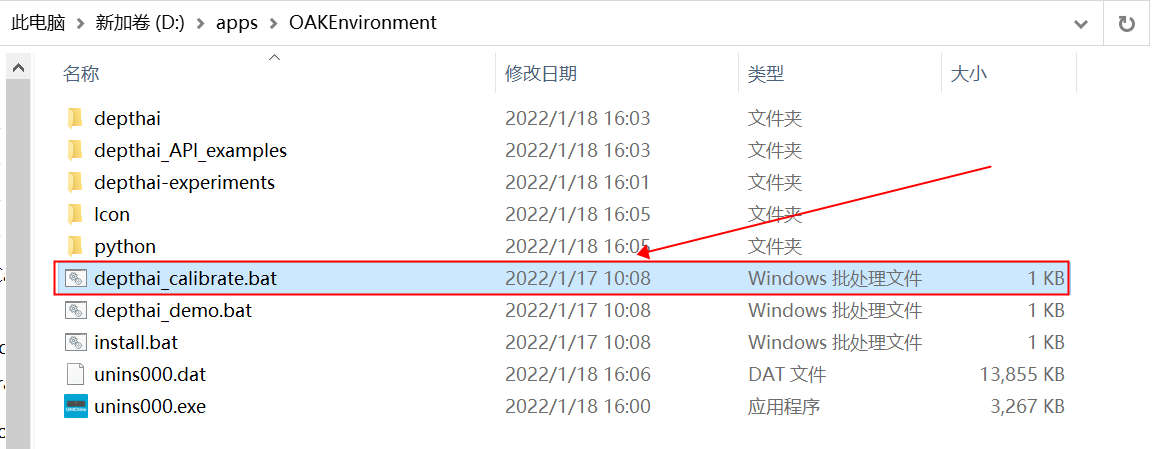
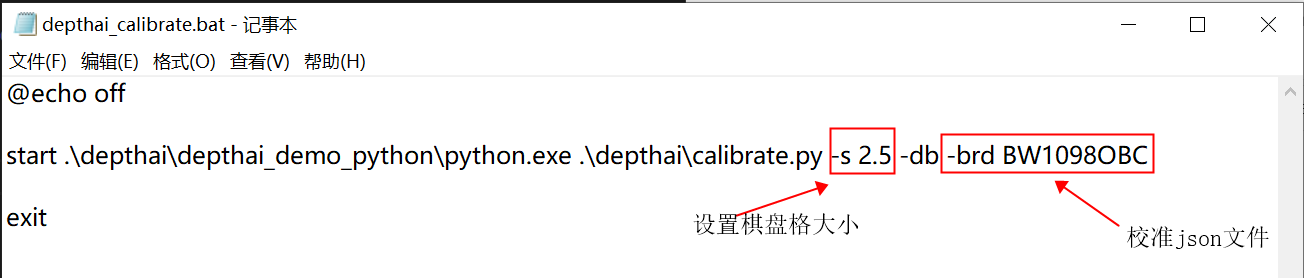
如果您想要校准其他OAK设备,可以修改depthai_calibrate.bat文件
用于校准的json文件在depthai目录下的resources/boards/,棋盘格大小单位是cm
也可以在命令行运行校准程序。
cd /d %DEPTHAI_HOME%
.\python\python.exe .\depthai\calibrate.py -s 2.5 -db -brd BW1098OBC --skipVersionCheck
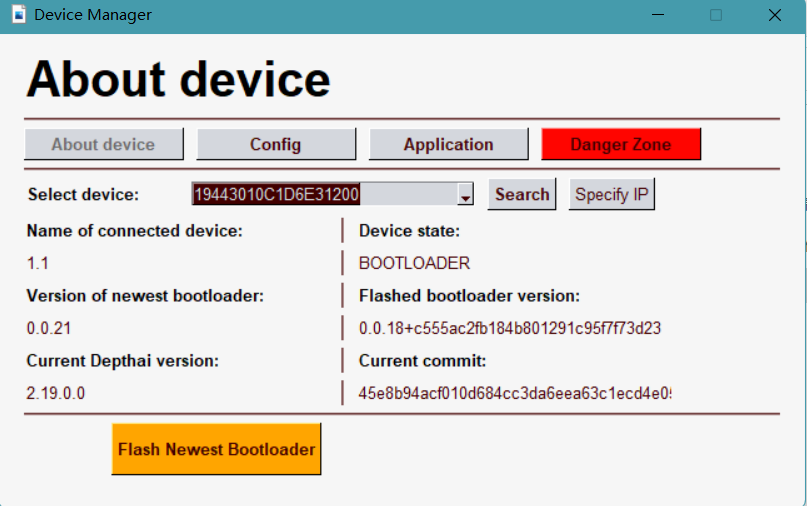
device_manager.exe
我们把device_manager.py打包成了exe程序, 下载链接 提取码: xukn
Windows 7
尽管我们不正式支持Windows 7, 但是我们的社区成员 已经成功 使用 Zadig 手动安装WinUSB . 连接DepthAI设备后,寻找具有 USB ID:03E7 2485 的设备并选择WinUSB(v6.1.7600.16385)安装WinUSB驱动程序,然后安装WCID驱动程序。